
🔪 Knife Skills · Lesson 1 of 5
How to Hold a Chef's Knife: the Pinch Grip and the Claw
Two grips that make every cut safer and faster: pinch the blade with one hand, curl the other into a claw.
🎬 Watch the lesson
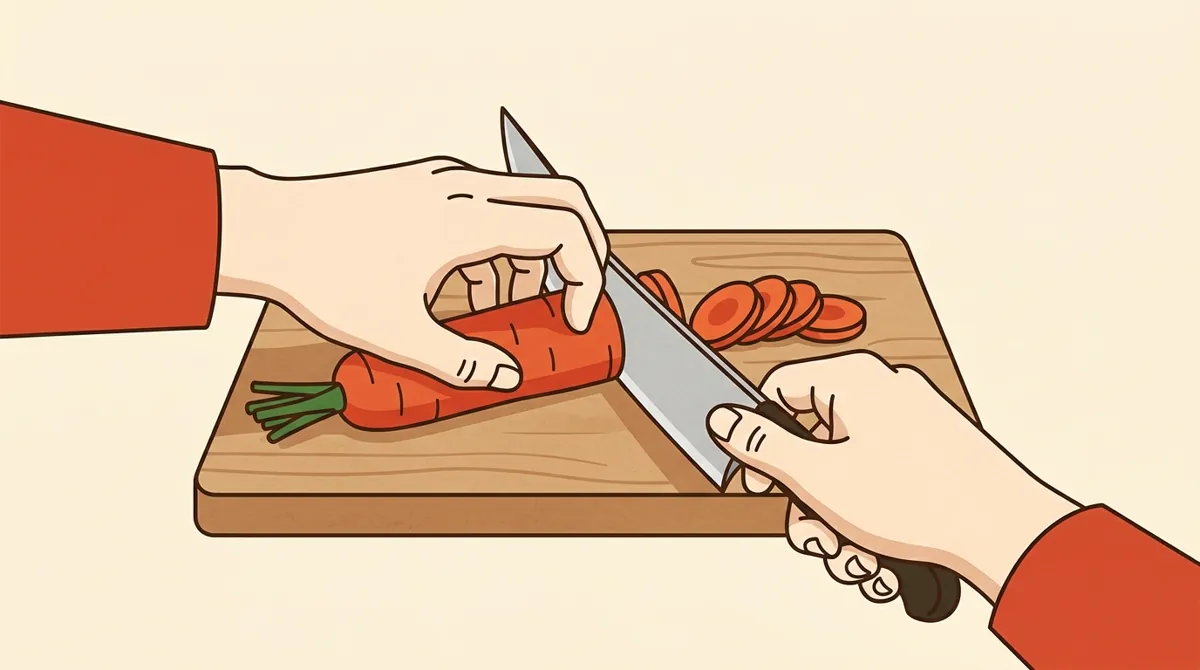
- Thumb and index finger pinch the blade
- Three fingers wrap the handle
- Fingertips tucked under
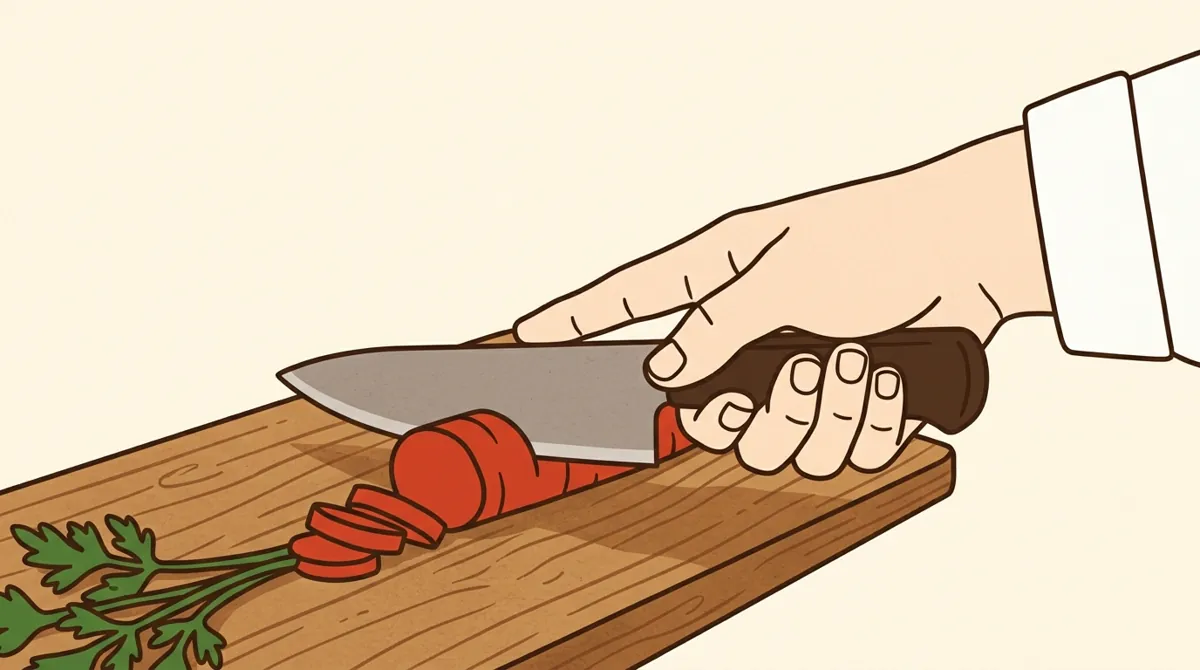
- Flat of the blade against the knuckles
- Thumb behind the fingers
Why it matters
Most home cooks hold a knife by the handle like a hammer, with a finger pointed down the spine. That grip wobbles, tires the wrist and gives you poor control. The pinch grip and the claw fix both, and they make every other cut faster and safer.
Pinch the blade, not the handle
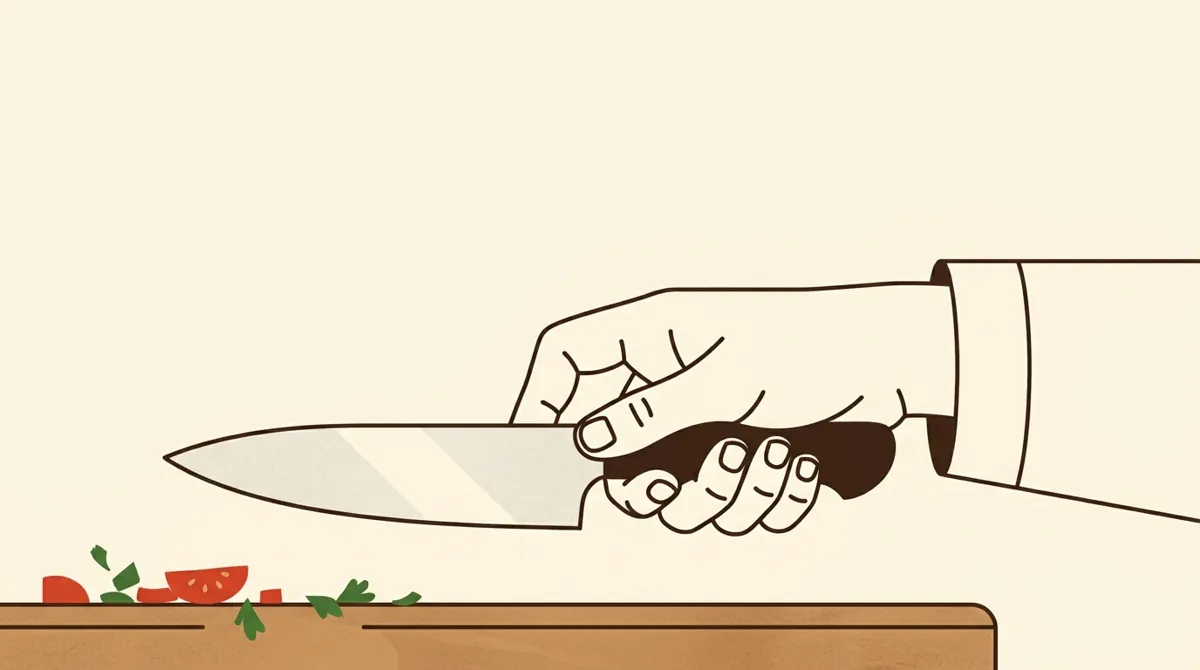
Pinch the flat of the blade just in front of the handle between your thumb and the side of your index finger. Wrap your other three fingers around the handle. Your hand now steers the blade itself instead of the end of a handle, so the edge goes where you aim it.
Your other hand is a claw
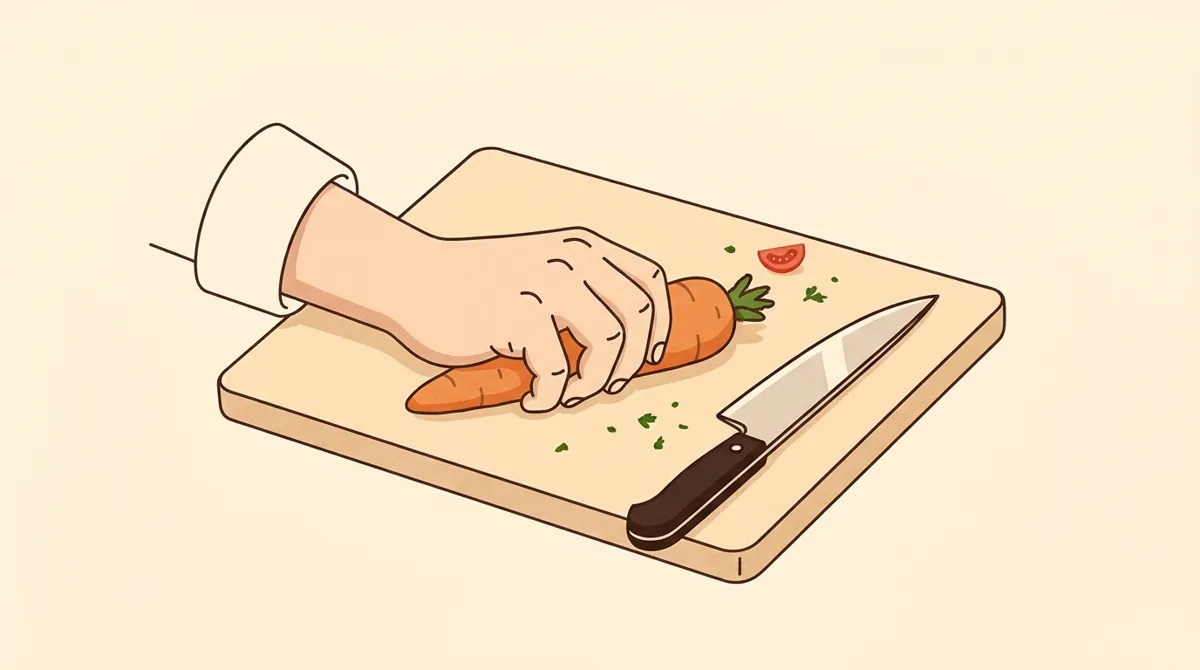
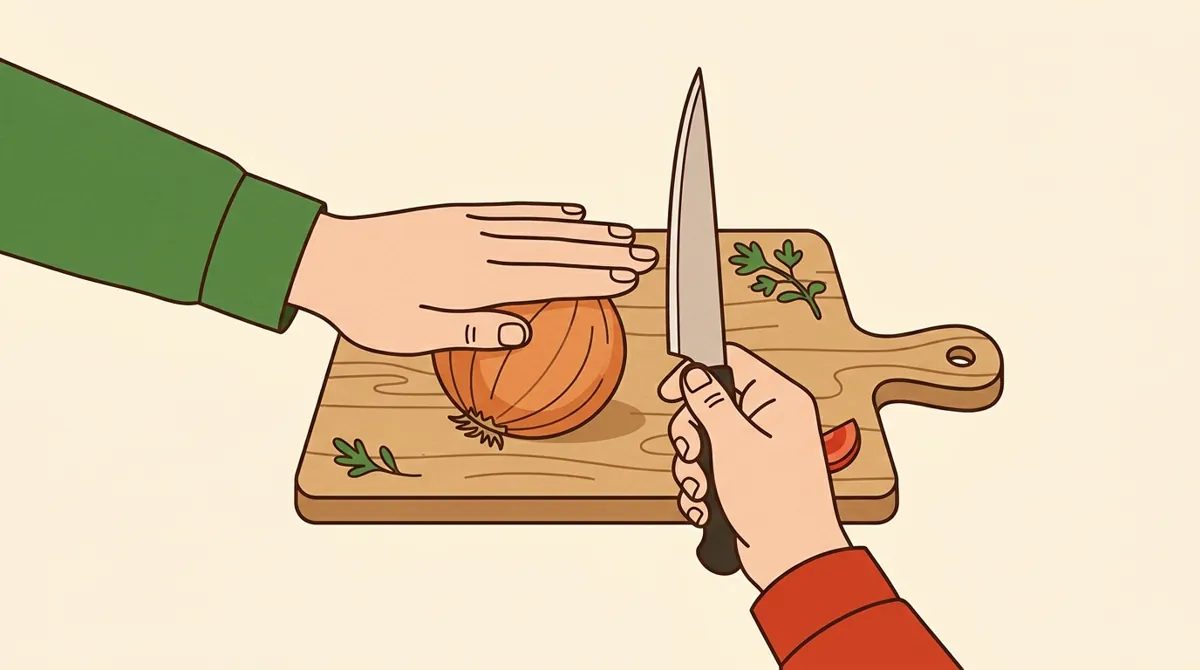
Curl the fingers of your guiding hand so the fingertips tuck under, behind your knuckles. Rest that claw on the food with your thumb tucked behind the fingers, holding the food in place from the back.
The knuckles guide the blade
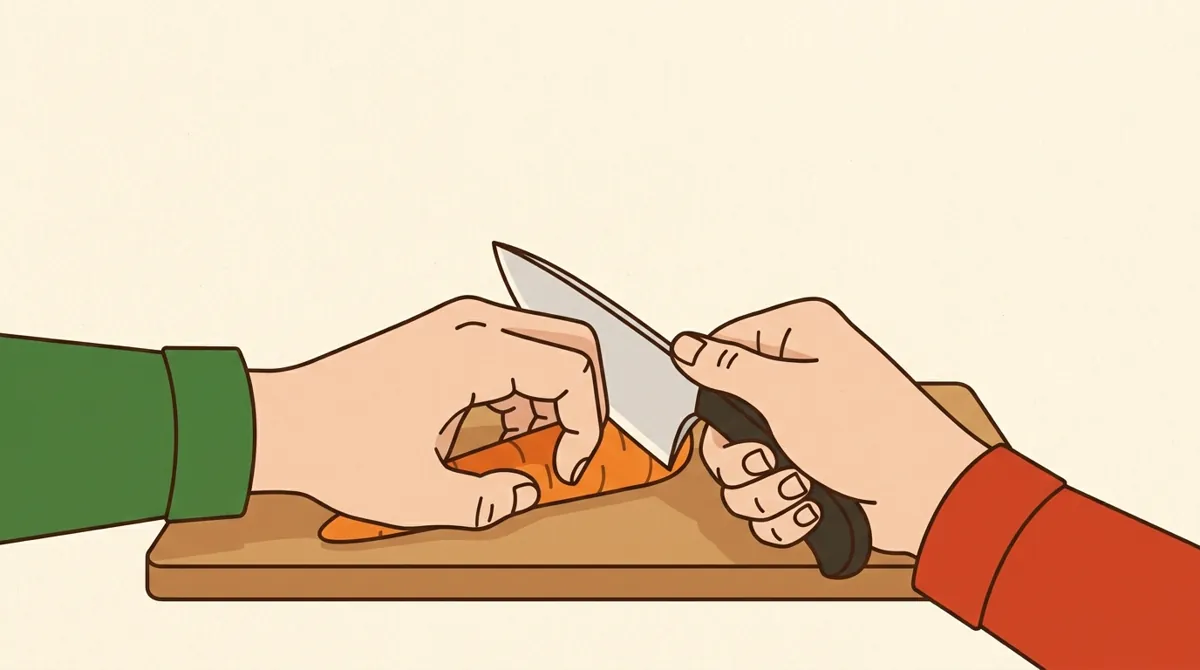
The flat of the blade rides against your middle knuckles. Your fingertips are behind them, so the edge has nothing to reach. Move the claw back a little after each cut and the knuckles set the thickness of the next slice.
One grip for every knife
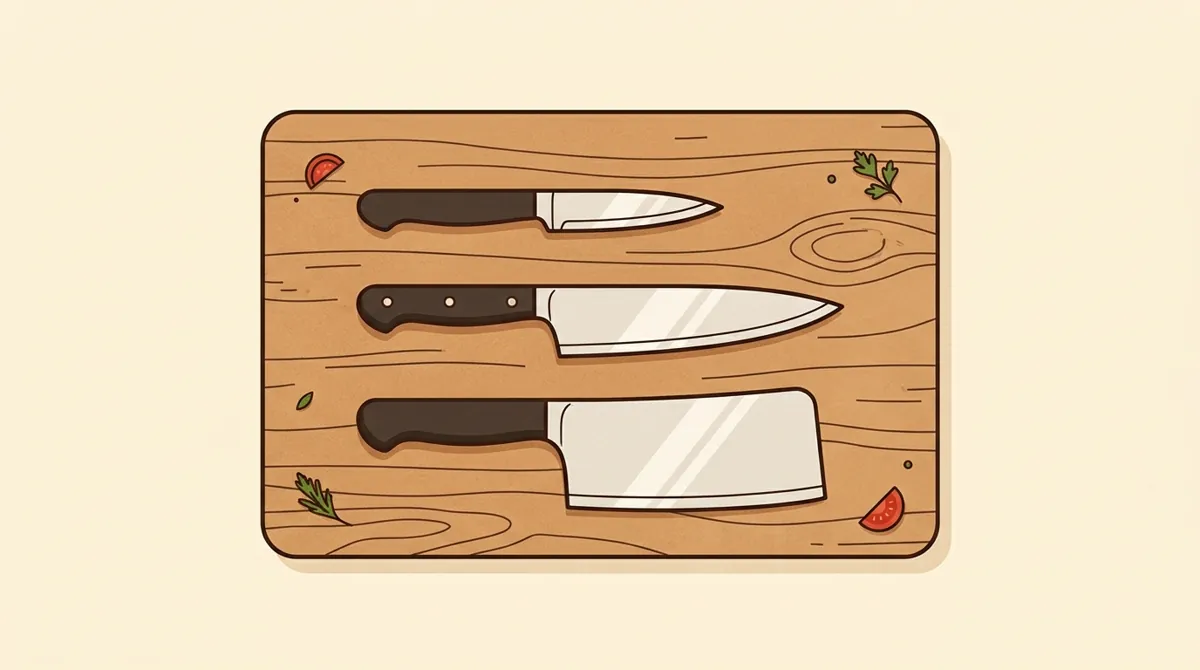
The same pinch grip works on a paring knife, a chef's knife and a cleaver. Learn it once and it carries over to everything in the block.
Step by step
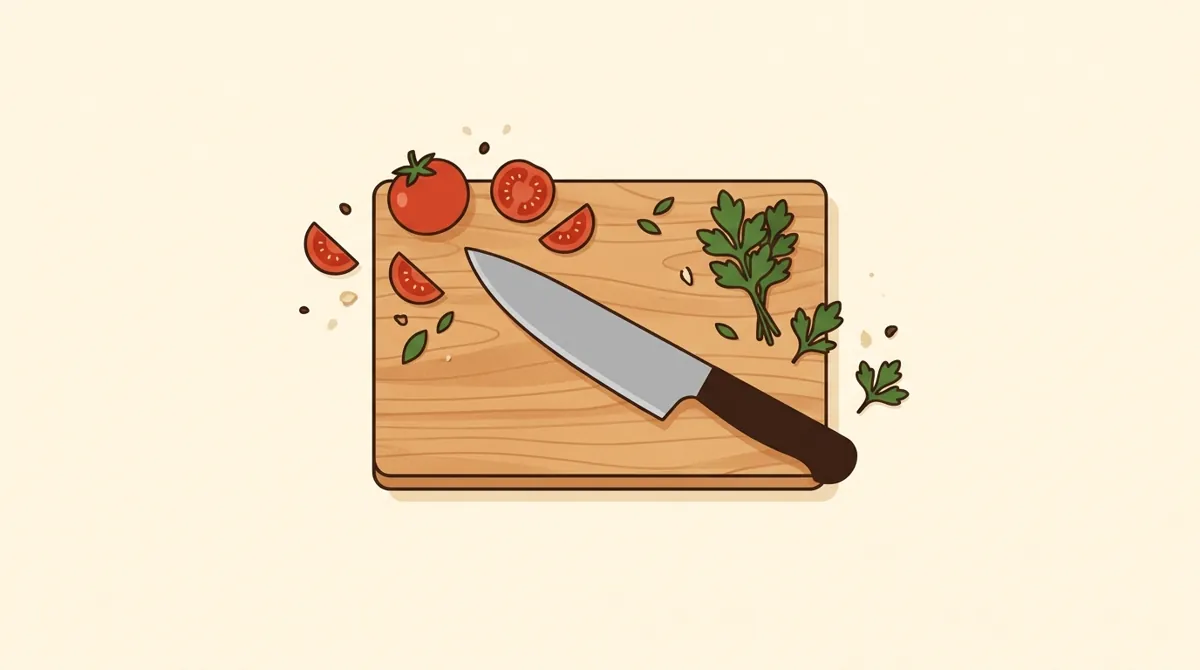
Set the knife on the board with the handle toward your cutting hand.
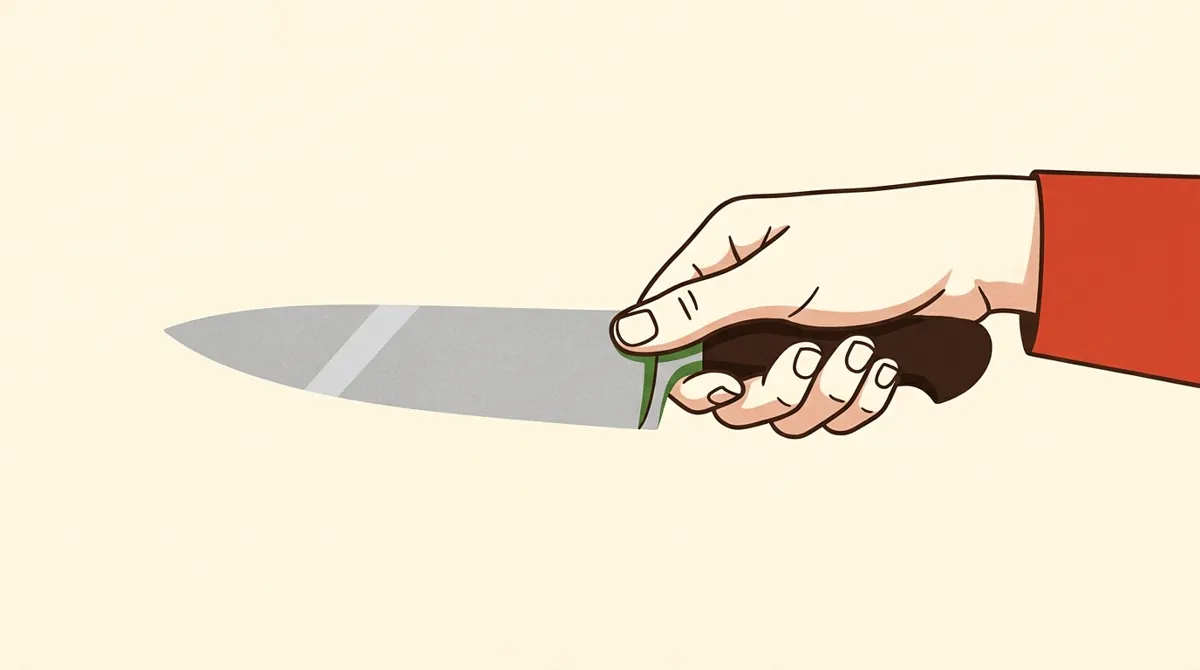
Pinch the blade just in front of the handle with your thumb on one side and the bent side of your index finger on the other.
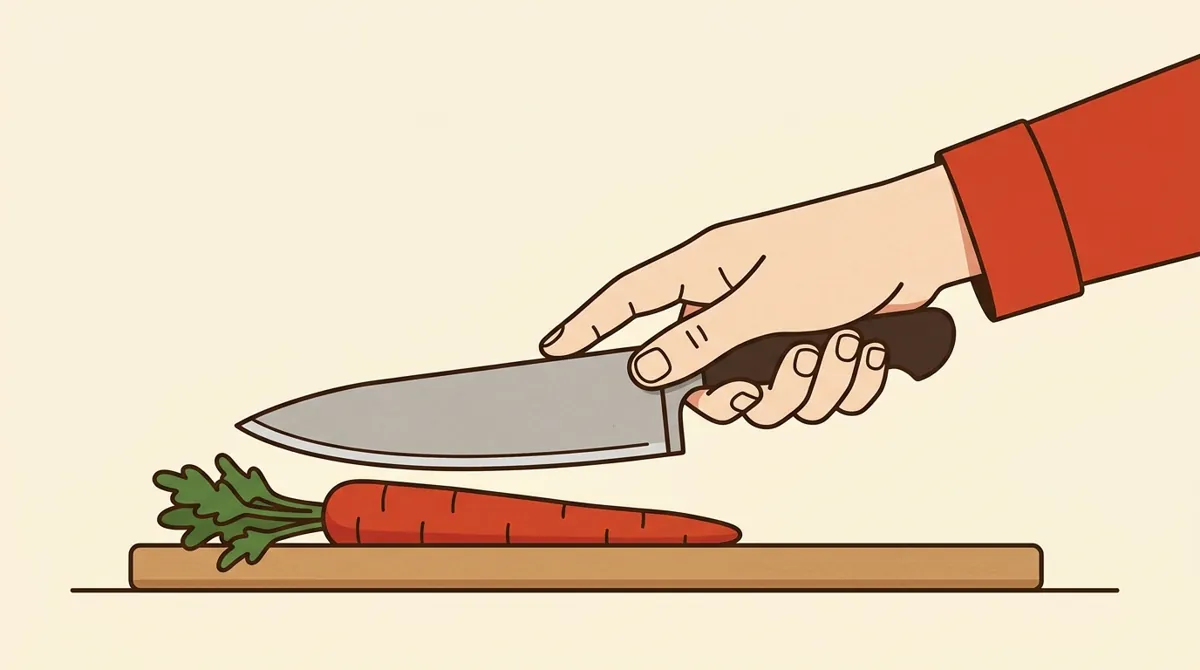
Wrap your middle, ring and little fingers around the handle.
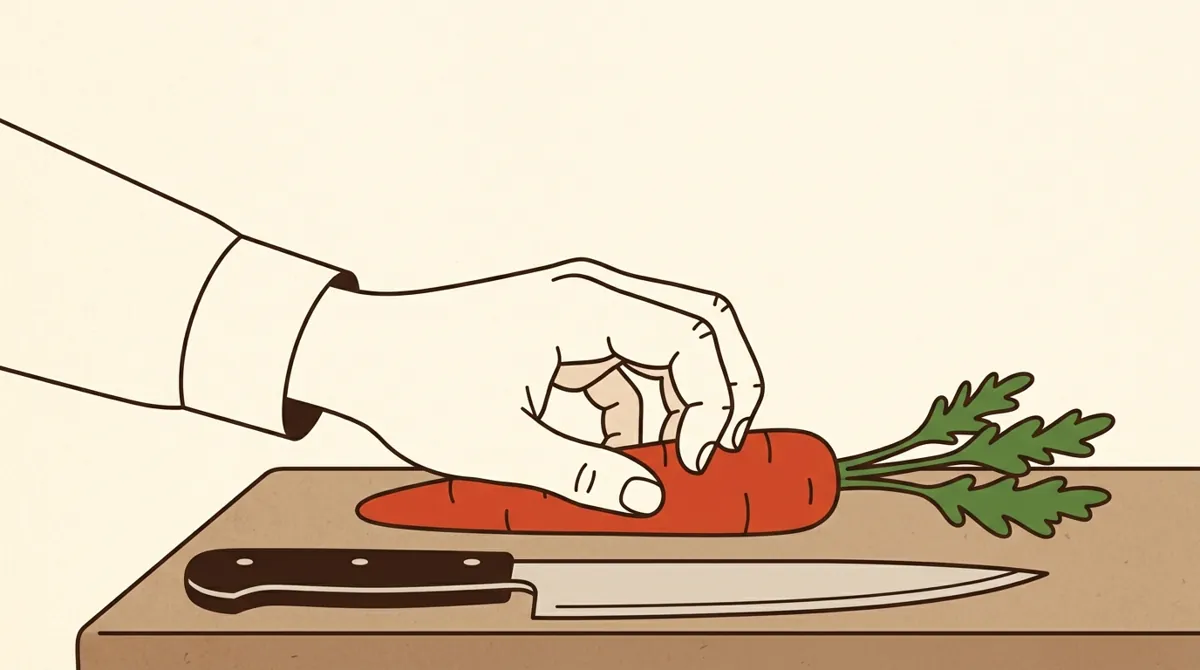
Curl the fingertips of your other hand under, so the knuckles are the part closest to the knife.
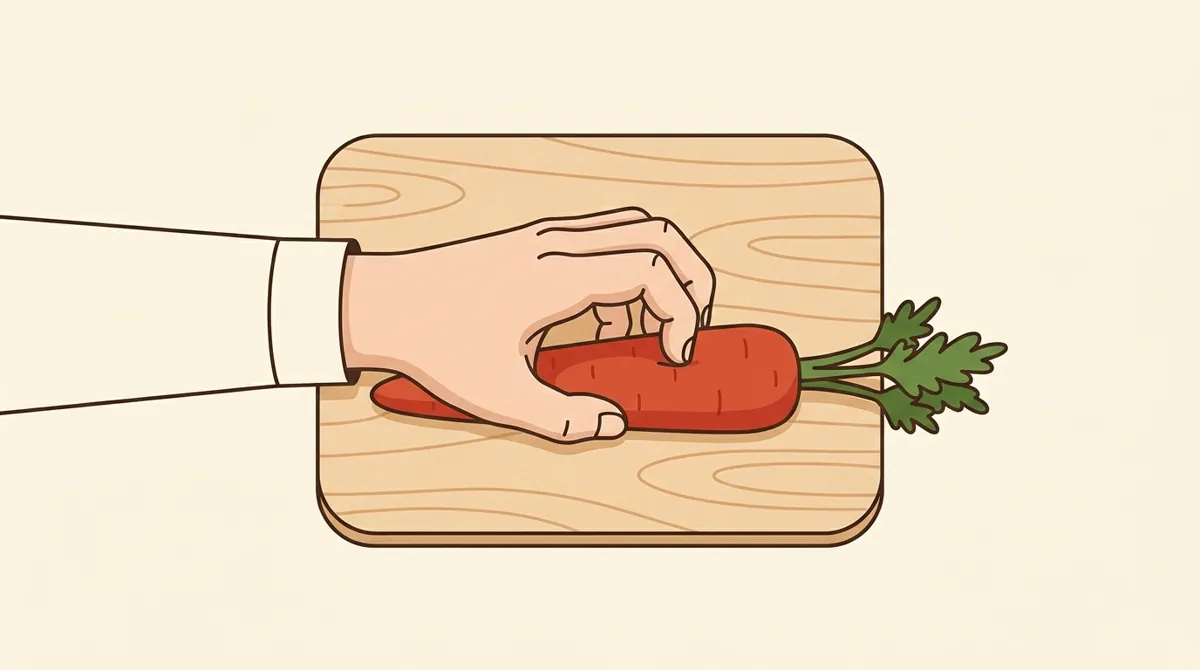
Rest the claw on the food with the thumb tucked behind the fingers.
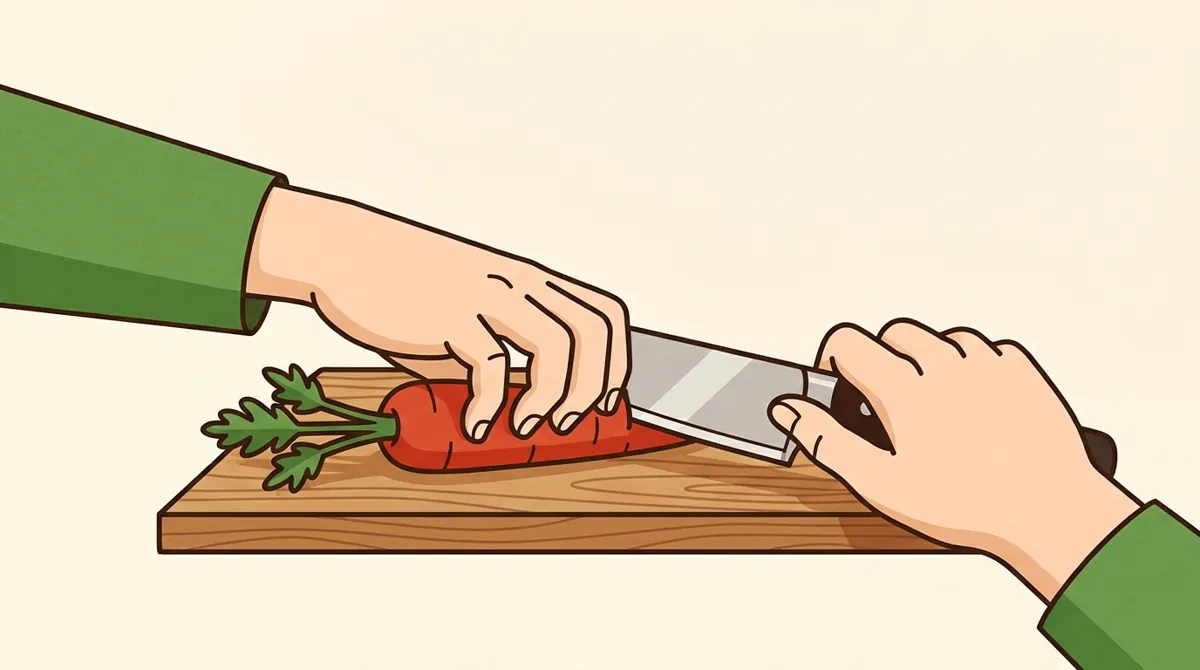
Set the flat of the blade against your knuckles and slice down and forward, using the length of the blade.
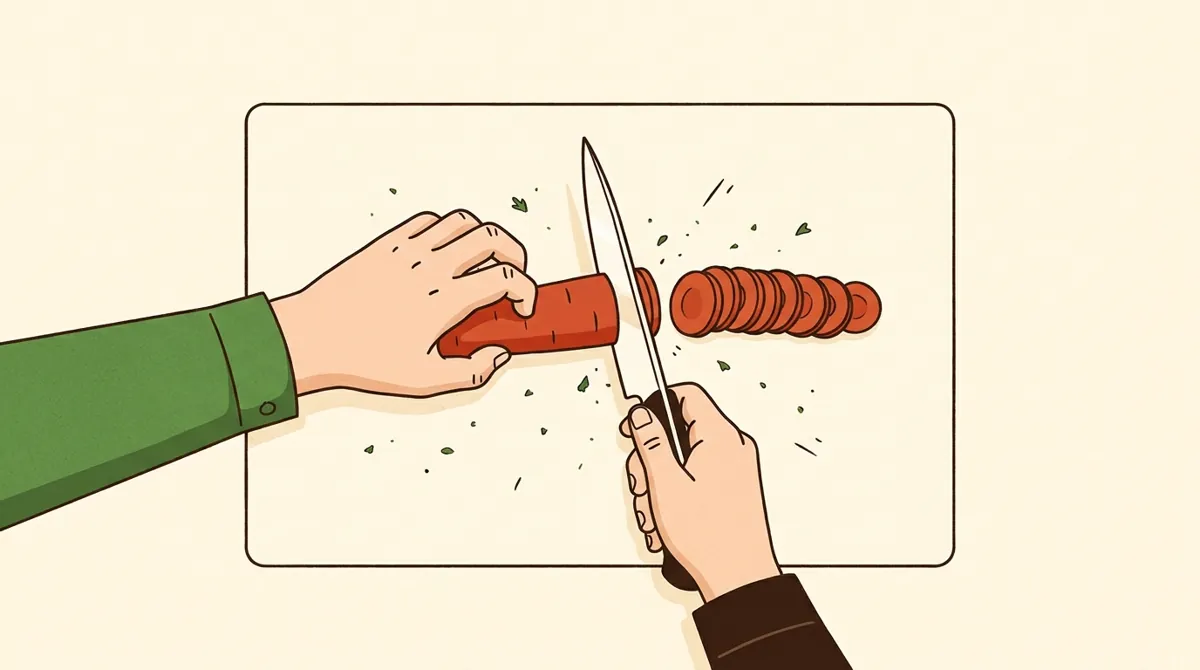
Slide the claw back a little and make the next cut.
Common mistakes
- Pointing the index finger along the spine: it feels steady but weakens your grip on the blade, so pinch the blade instead.
- Flat fingers on the food: the fingertips stick out toward the edge, so curl them under every time.
- Thumb sticking out to the side: it ends up in front of the blade, so tuck it behind your fingers.
- Pushing the food into the knife: move your claw back across the food instead and let the knife stay in one lane.
- Lifting the knife high between cuts: keep the tip or the flat near the board and your knuckles.
🏋️ Try it tonight
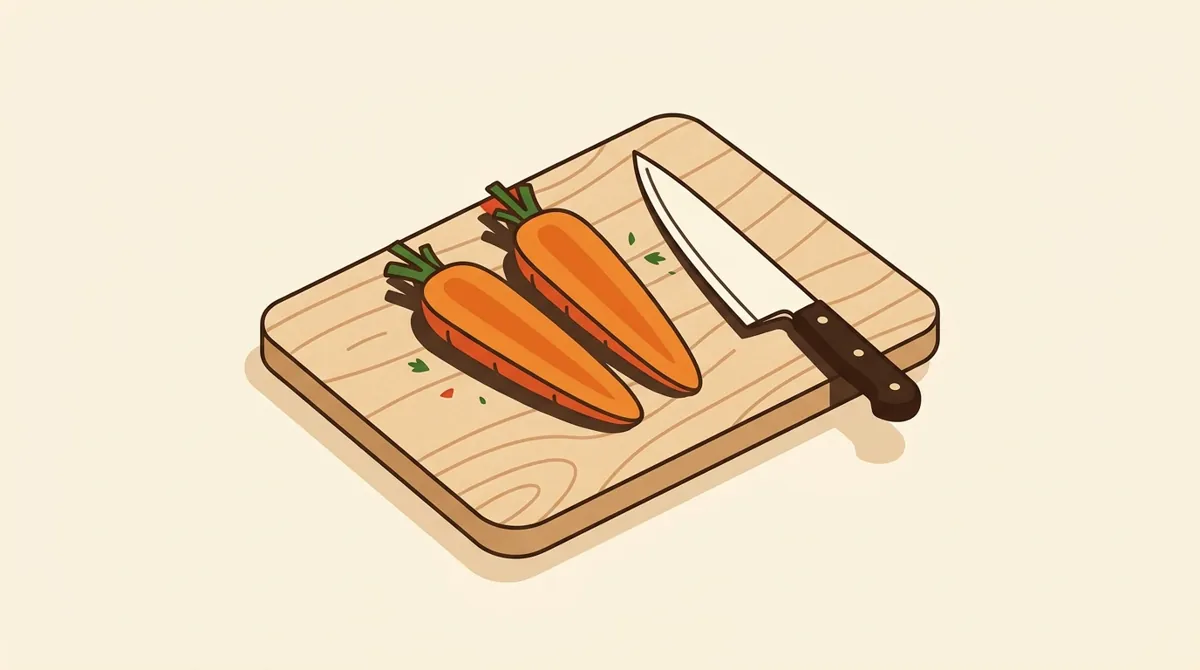
Buy two carrots. Cut one in half lengthwise and lay it flat side down so it can't roll. With the pinch grip and the claw, slice it into rounds as thin as you can manage, slowly, letting your knuckles set each slice. Then do the second carrot a little faster. Use the slices in a soup or a stir-fry.
💡 Did you know?
The same pinch grip works on every kitchen knife, from a small paring knife to a heavy cleaver, so you only have to learn it once.
Use it tonight
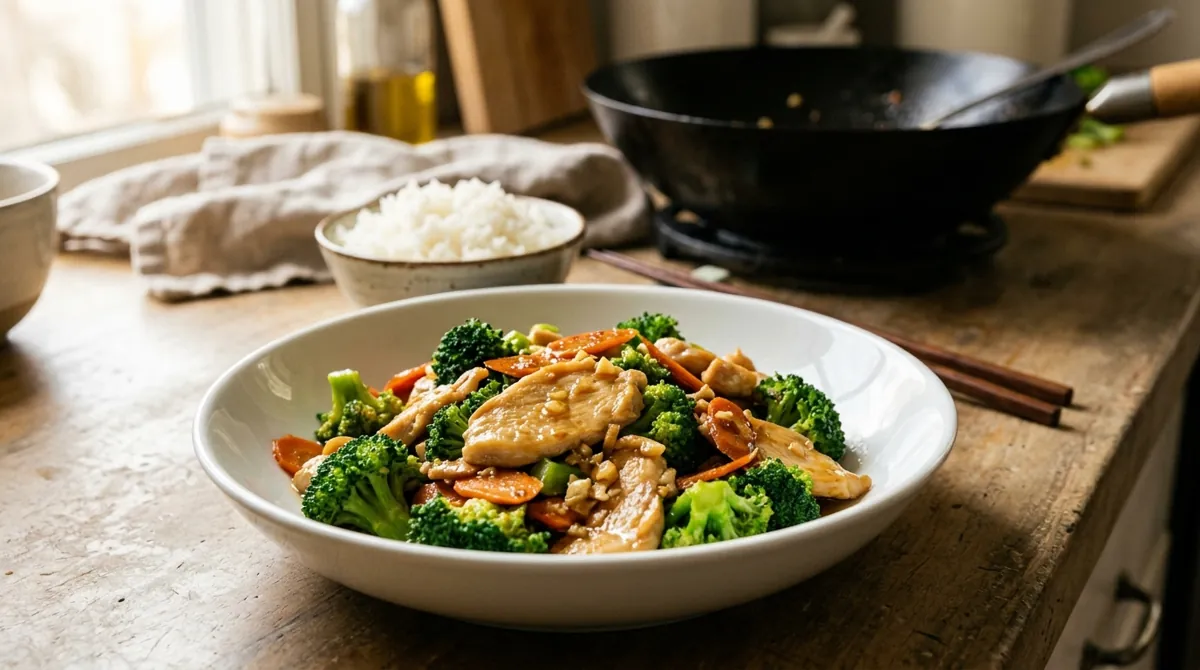
25-Minute Chicken and Broccoli Stir-Fry
The takeout template in 25 minutes: velveted chicken breast browned in a hot wok, tossed with blanched broccoli, carrot, garlic, ginger and scallion in a quick oyster sauce and soy sauce glaze.
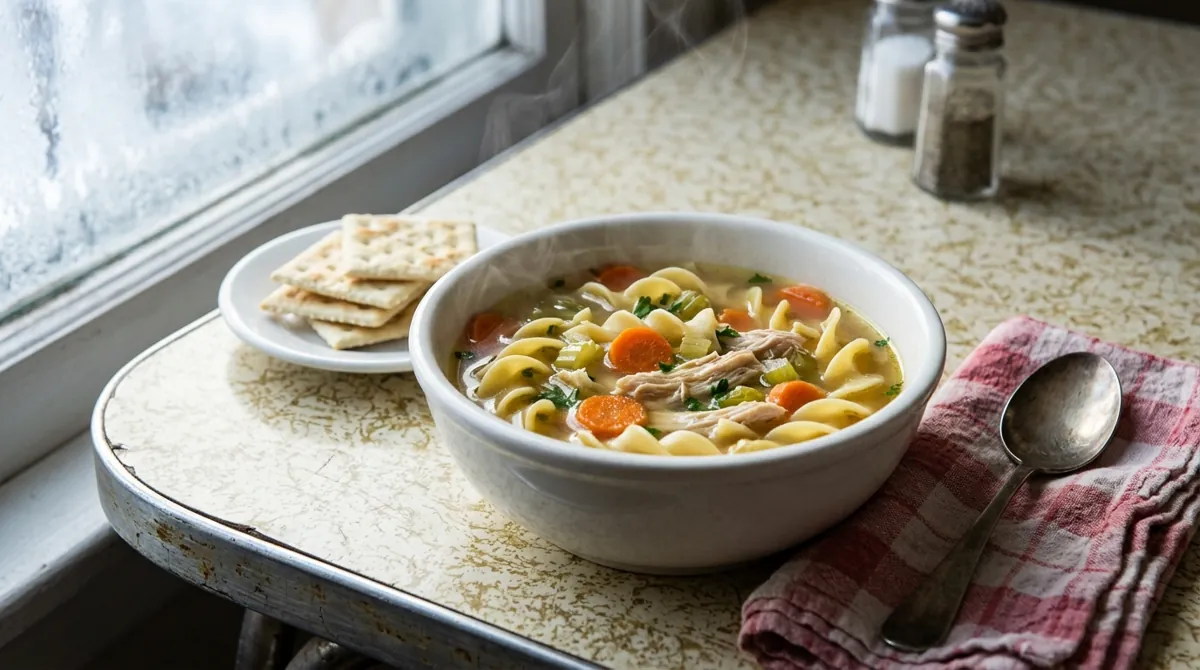
Classic American Chicken Noodle Soup
A rich homemade broth from browned chicken thighs with onion and bay, chicken breasts poached in it and shredded, then onion, carrot, celery and thyme simmered in the strained broth with wide egg noodles and finished with parsley.